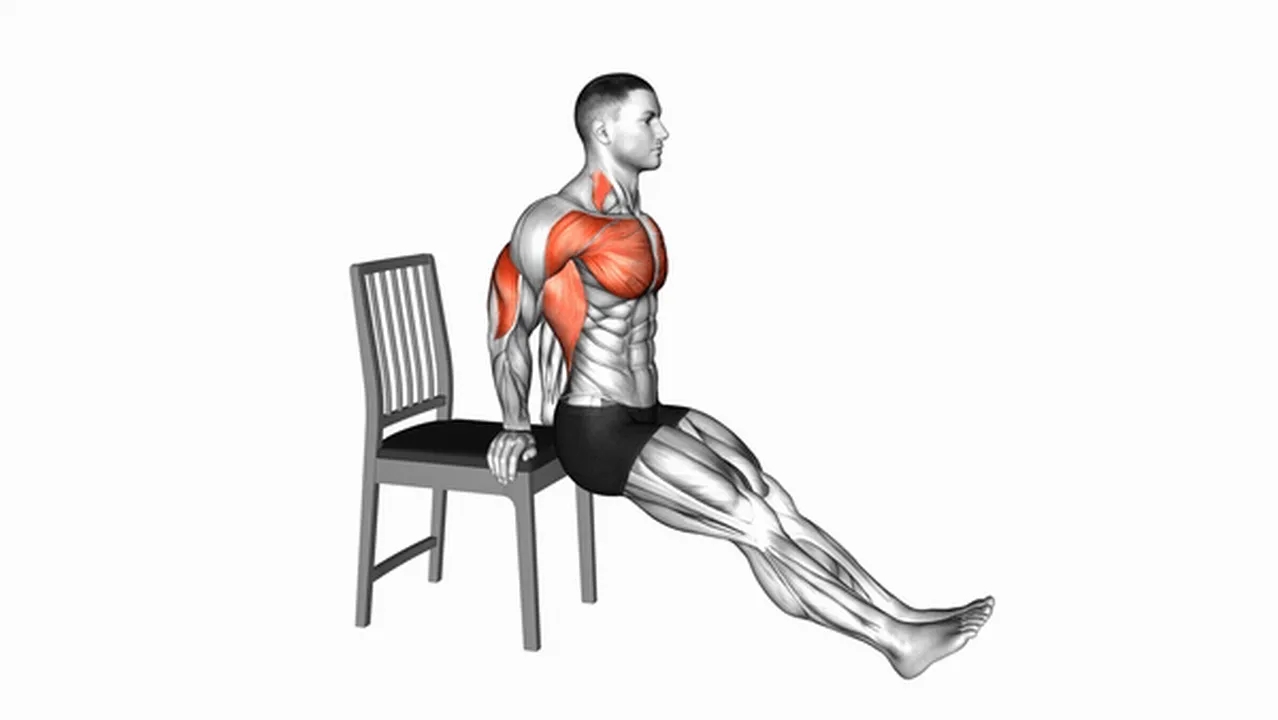
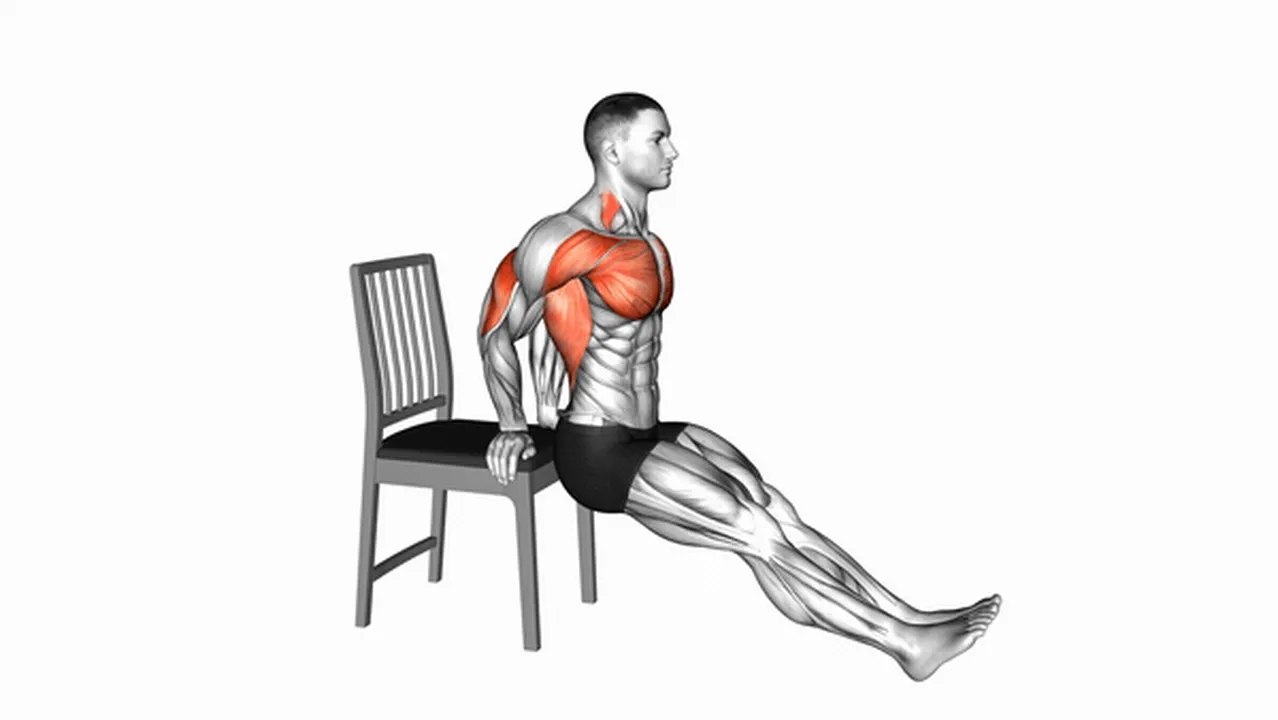
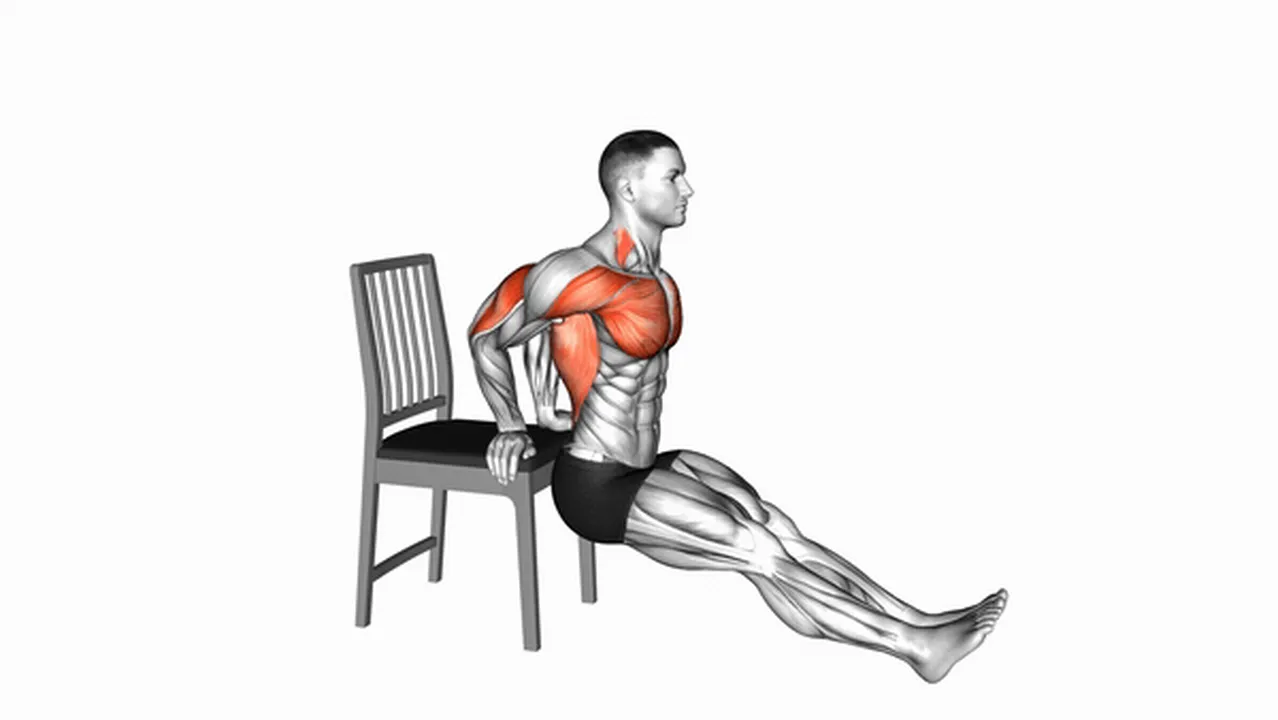
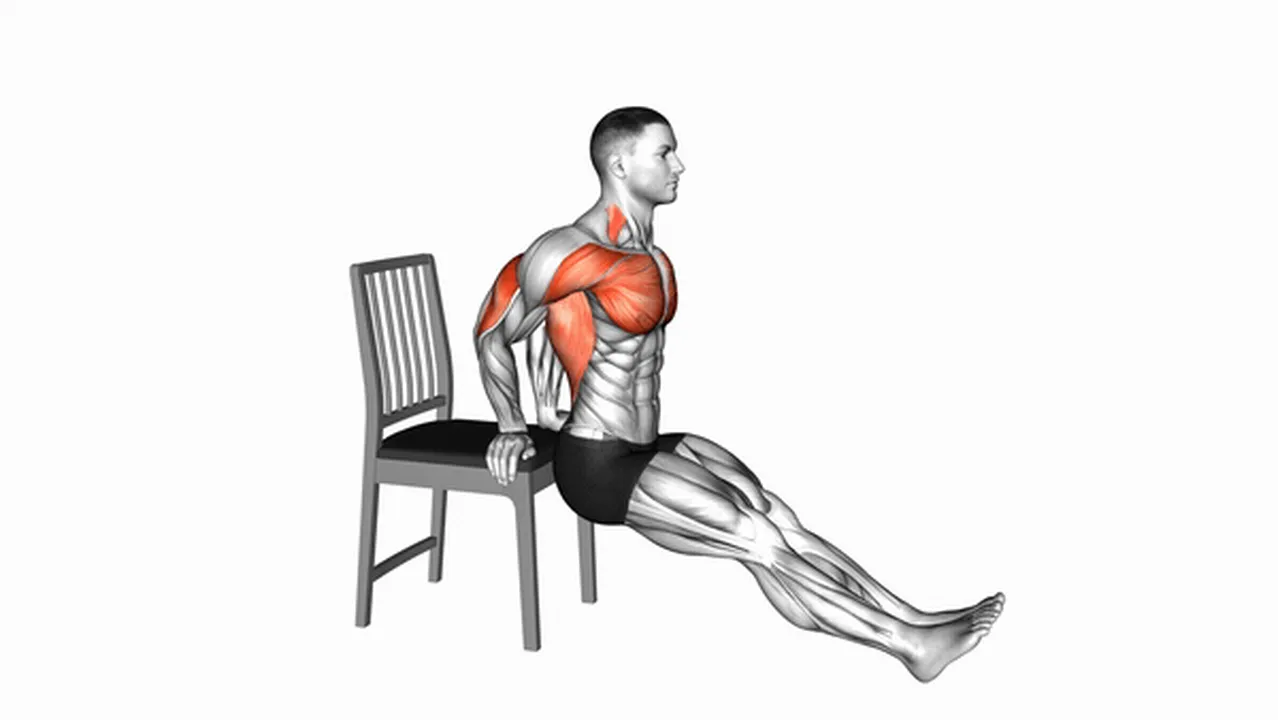
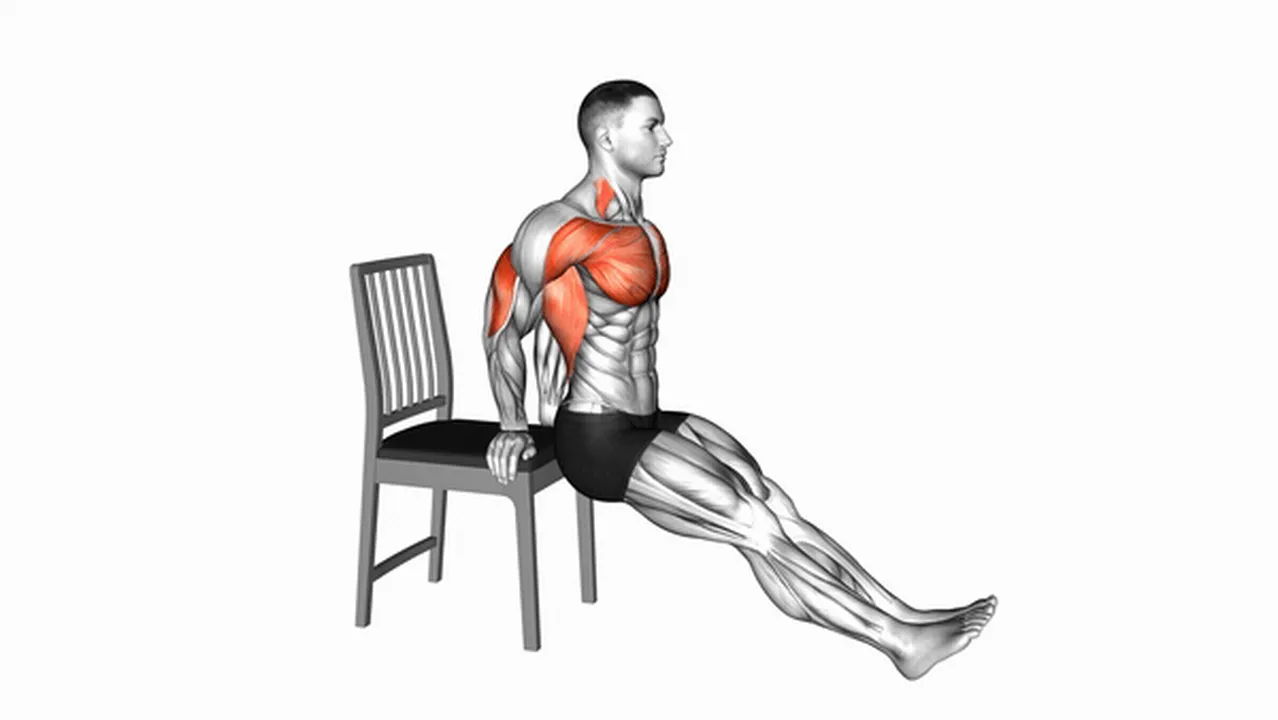
This exercise mainly works your chest, shoulders, and triceps muscles.
It's perfect for toning your muscles and getting stronger.
You don't need any special equipment, just a sturdy chair.
This makes it easy to do at home or at the gym.
You can change how hard the exercise is to fit your fitness level.
Beginners can start with their knees bent to make it easier.
More advanced people can do the exercise with their legs straight out for a harder workout.
To do a floor dip, sit on the edge of the chair with your hands on the edge, slightly wider than shoulder-width apart.
Slide your bottom off the chair, keeping your hands firmly on the edge.
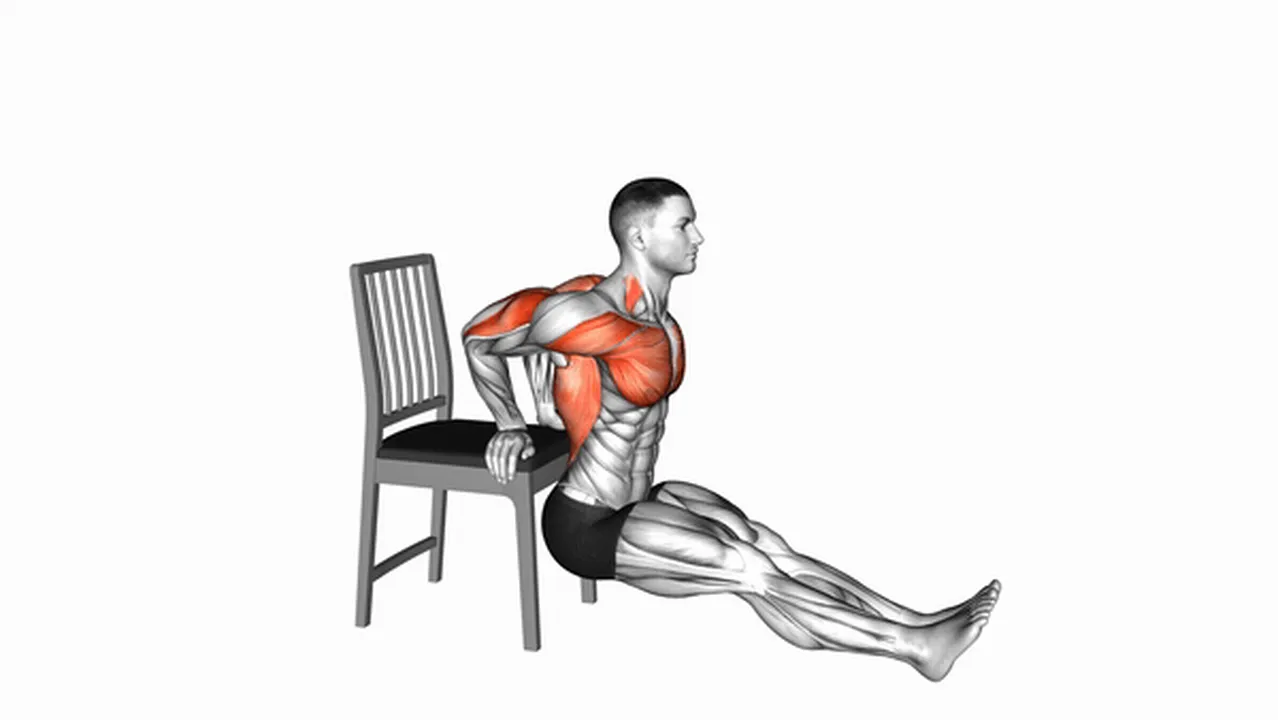
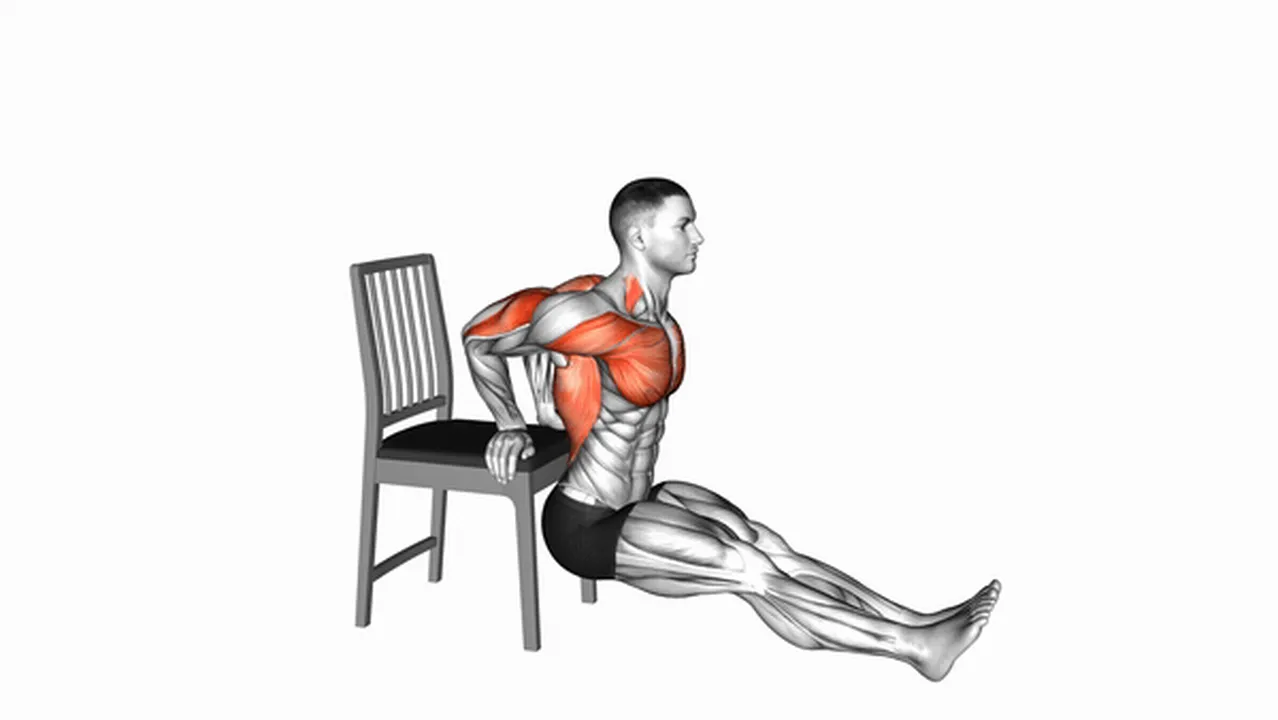
Lower your body down by bending your elbows until your upper arms are almost parallel to the floor.
Push back up to the starting position by straightening your arms.
Remember to keep your back straight and your core engaged throughout the exercise.
Start with a few repetitions and gradually increase as you get stronger.
Listen to your body and stop if you feel any pain.
Works Many Muscles at Once: This exercise uses your chest, shoulders, and triceps, giving you a complete upper body workout.
Builds Muscle Endurance: You can do many repetitions, which helps you build stamina and strength in your muscles.
Improves Shoulder Stability: Regularly doing chair dips helps your shoulder joints become stronger and more stable.
Easy to Change for Different Fitness Levels: You can make the exercise easier or harder by changing how you sit or using extra support. This makes it good for people of all fitness levels.
Easy to Do at Home: All you need is a sturdy chair, making it perfect for home workouts. No gym membership required!
How to Do Chair Dips Safely and Effectively: (This point would lead into instructions on proper form and technique. The instructions themselves would follow in a subsequent response, as requested.)
Sit on the edge of the chair. Your hands should be on the edge of the chair, about as wide apart as your shoulders.
Stretch your legs out in front of you. You can have your heels on the ground or your feet flat—whatever feels most comfortable and stable.
Slowly bend your elbows. Lower yourself down towards the floor, keeping your elbows tucked in close to your body. Don't let them stick out to the sides.
Push yourself back up. Straighten your arms to return to the starting position. Use your hands to push your body upward.
Keep your tummy muscles tight the whole time. This helps you stay balanced and do the exercise correctly.
Dips between chairs: This exercise is similar to floor dips but uses two sturdy chairs for support. It lets you go lower and works your muscles more because you have a wider range of motion.
Reverse dips: These are great for building strong triceps. You can do them using parallel bars at the gym or even a sturdy bench at home. To make it harder, just change how you position your legs.
Inverted rows between chairs: This exercise is a bit different. It mainly works your back and biceps, but it also helps strengthen your shoulders and triceps. Plus, it improves your core strength because you need to keep your body stable while you pull yourself up.
These different exercises help you mix up your workouts and make sure you're working all your muscles in different ways. Try them out and see which ones you like best!
It mainly works your chest, shoulders, and the back of your upper arms (triceps).
But you can make it even better with some changes!
Try Dips Between Chairs: This uses two chairs side-by-side. You go lower and it's harder, needing more strength and balance. It works the same muscles but makes them stronger and more defined.
Another option is Triceps Dips: Use a bench or those bars at the gym. This focuses more on the back of your upper arms. It's a different movement, helping build muscle and stamina in a new way.
Switching up your dips prevents getting stuck in a rut. Your muscles get used to things, so changing it keeps them growing stronger.
Each type of dip is good in its own way. Experiment to find what you like best and what works best for you!
Go all the way down: Don't stop halfway! Lower yourself until your elbows are bent at about a right angle (90 degrees). This makes the exercise more effective.
Keep your back straight: A rounded back can hurt your lower back. Tighten your stomach muscles to keep your back straight throughout the exercise.
Remember to breathe: Don't hold your breath! Breathe out as you push yourself up, and breathe in as you lower yourself down. This helps you stay steady and gives your muscles the oxygen they need.
Doing it right is key to getting the most out of it and avoiding injuries.
Here are some different ways to do the exercise:
Standard Dip: Sit on a chair, place your hands on the edge, and slide your bottom off the chair. Lower yourself down by bending your elbows, then push back up.
Close-Grip Dip: Bring your hands closer together on the chair's edge. This will work your triceps (back of your upper arm) more.
Wide-Grip Dip: Place your hands farther apart on the chair's edge. This focuses more on your chest muscles.
Assisted Dip (easier): Have someone hold your legs or use resistance bands to help you lift yourself up. This makes it easier to do if you're just starting.
Elevated Dip (harder): Use a taller chair or a sturdy surface to make the dip harder and more challenging.
Important things to remember:
Keep your back straight. Don't let your back arch or round.
Go down slowly and steadily, then push yourself back up with control. Don't bounce.
Listen to your body. If you feel pain, stop.
Start with a few repetitions and gradually increase as you get stronger.
Always make sure the chair is stable and won't tip over.
Disclaimer: The routines and schedules featured on our website are for informational purposes only and do not constitute medical or professional advice. Individual preferences, goals, and daily routines may vary significantly. Please note that some product links within our content are affiliate links. While not all routines have been explicitly endorsed by the individuals mentioned, we strive to ensure the accuracy and timeliness of the information we provide.
Disclaimer: BalancedRoutine(BR) does not provide medical advice, diagnosis, or treatment. Any information published on this website or by this brand is not intended as a replacement for medical advice. Always consult a qualified health or mental health professional with any questions or concerns about your mental health.