EXERCISE

Inverted Row with Bent Knee Between Chairs

Introduction Image

Introduction


It's a bodyweight exercise, meaning you don't need any special equipment except for two sturdy chairs.


This exercise helps build upper body strength. Because you're pulling your body up, it works your back and arm muscles harder than some other exercises.


It's good for your posture. Strengthening your back muscles helps you stand and sit up straighter.


It's easy to learn and do, making it perfect for beginners and experienced exercisers alike. You can adjust the difficulty by changing how far apart the chairs are.


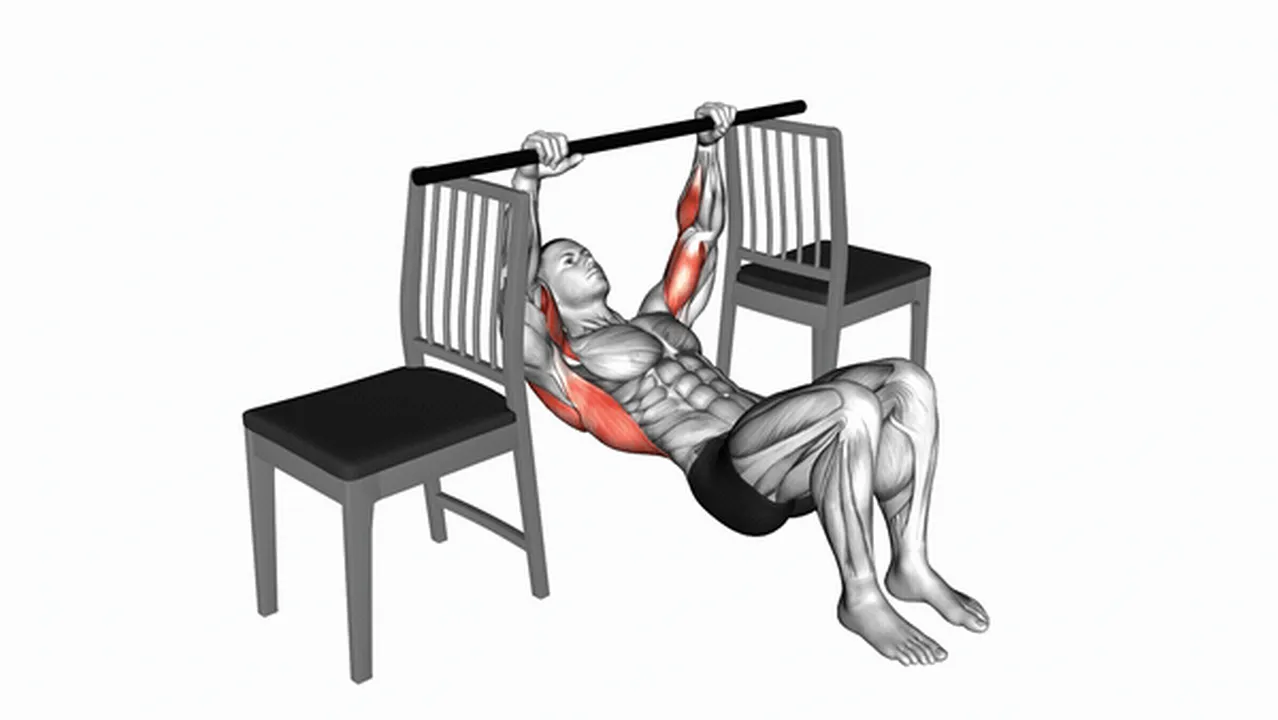
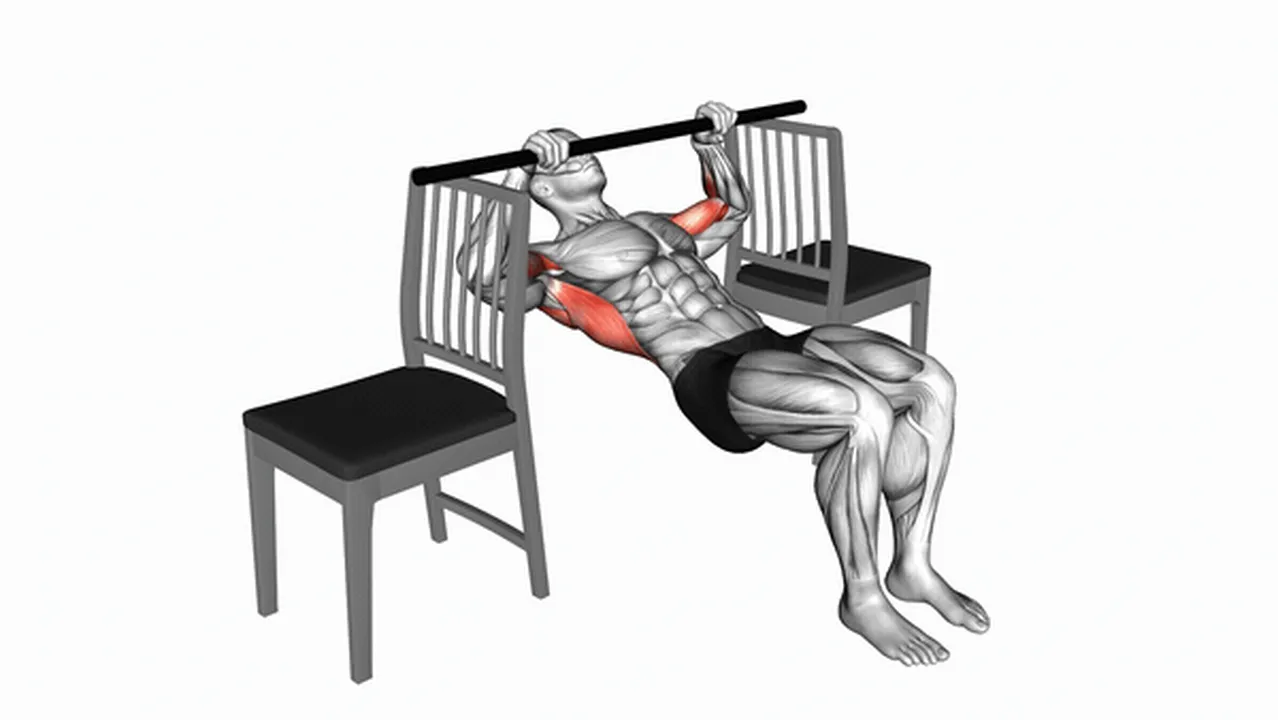
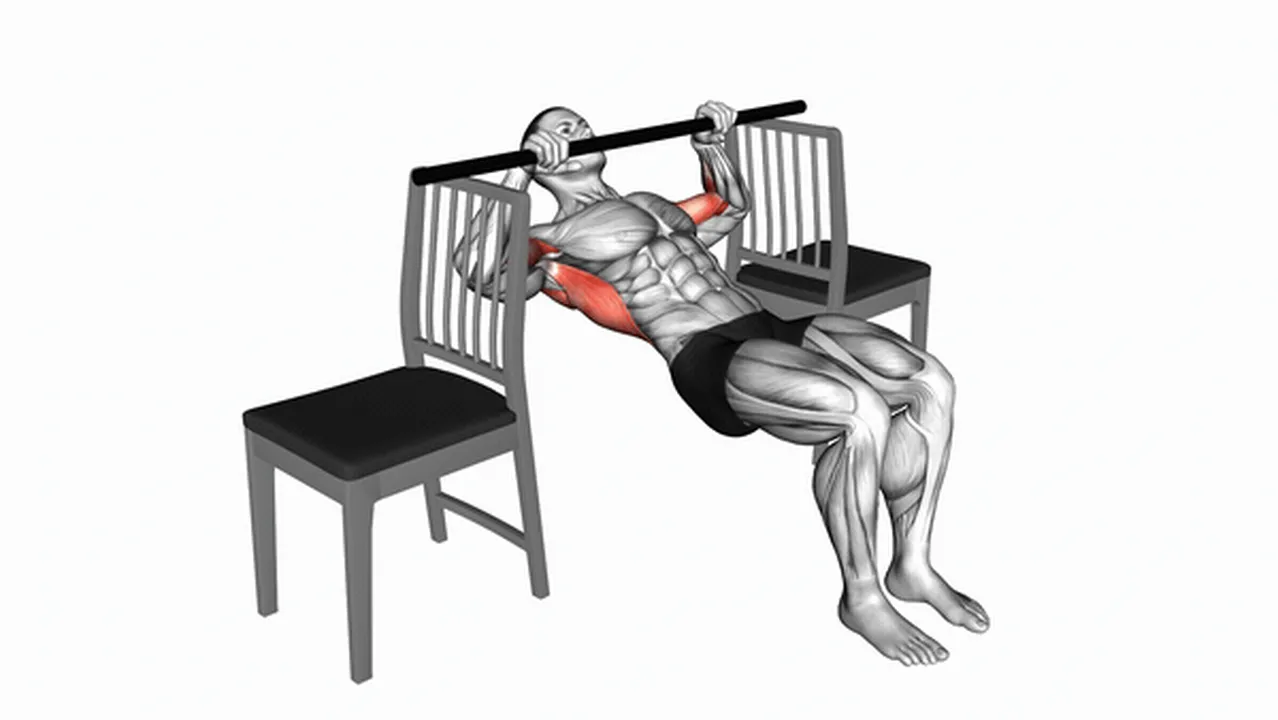
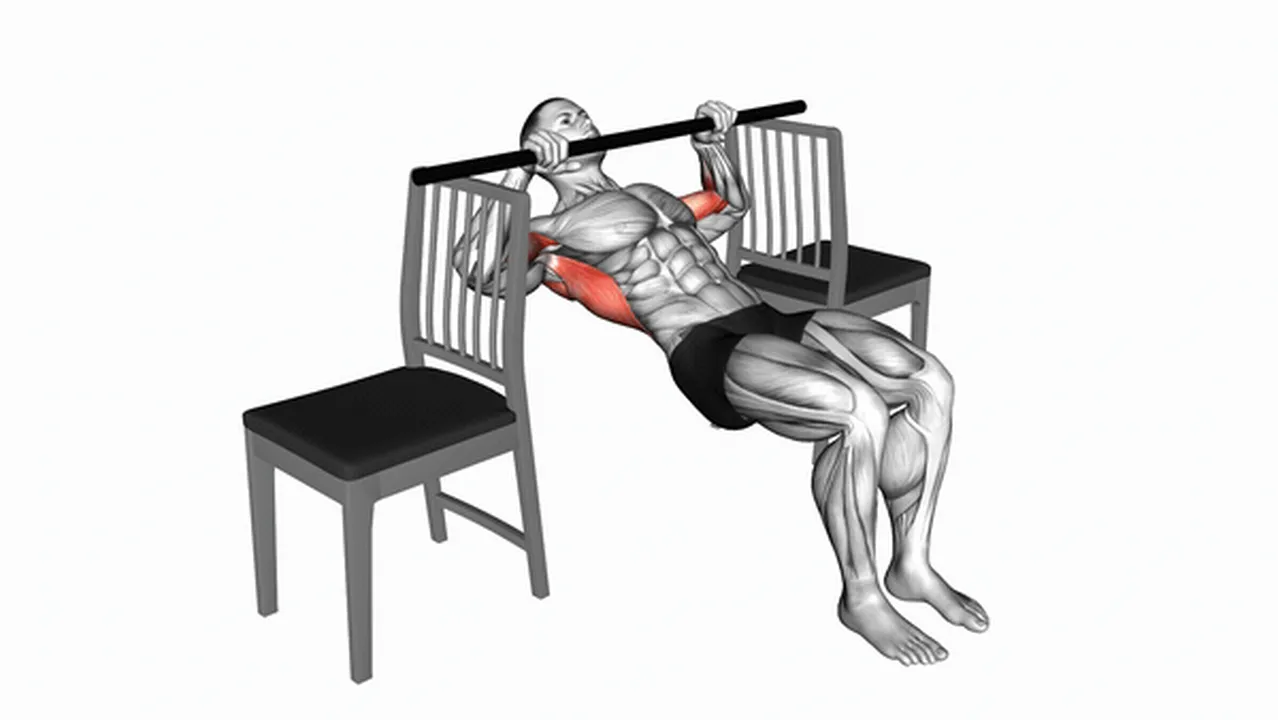
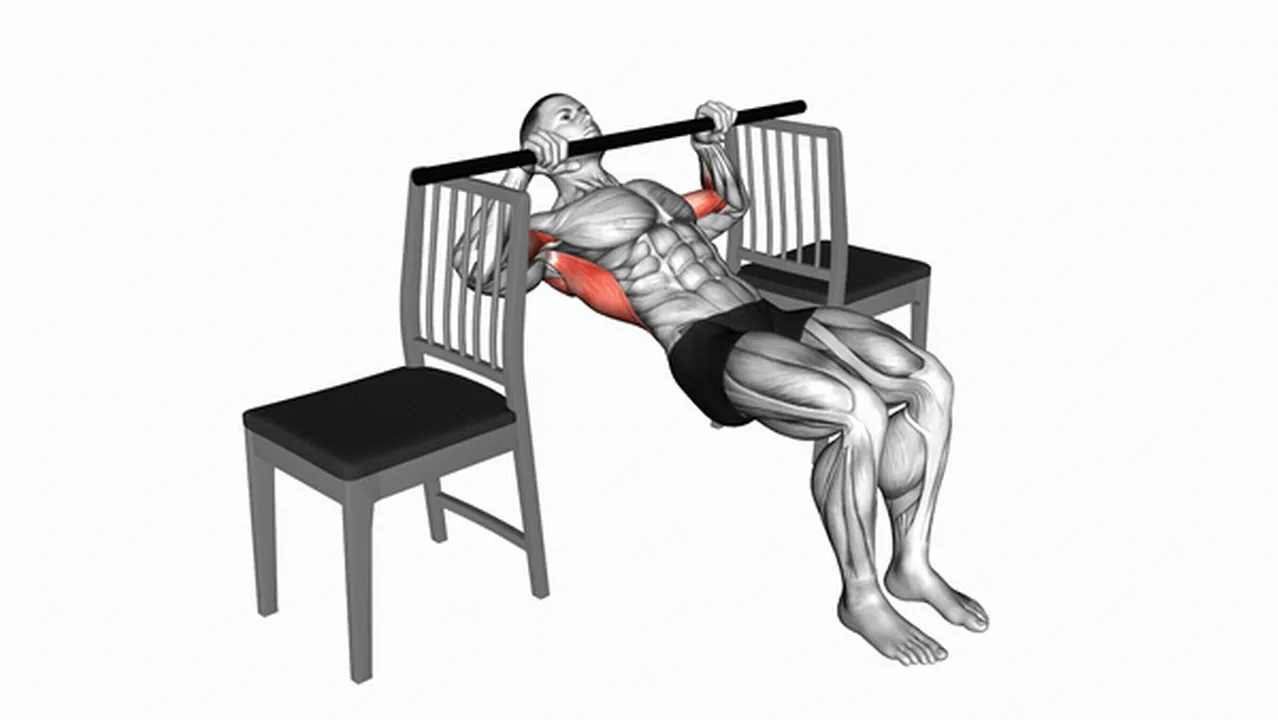
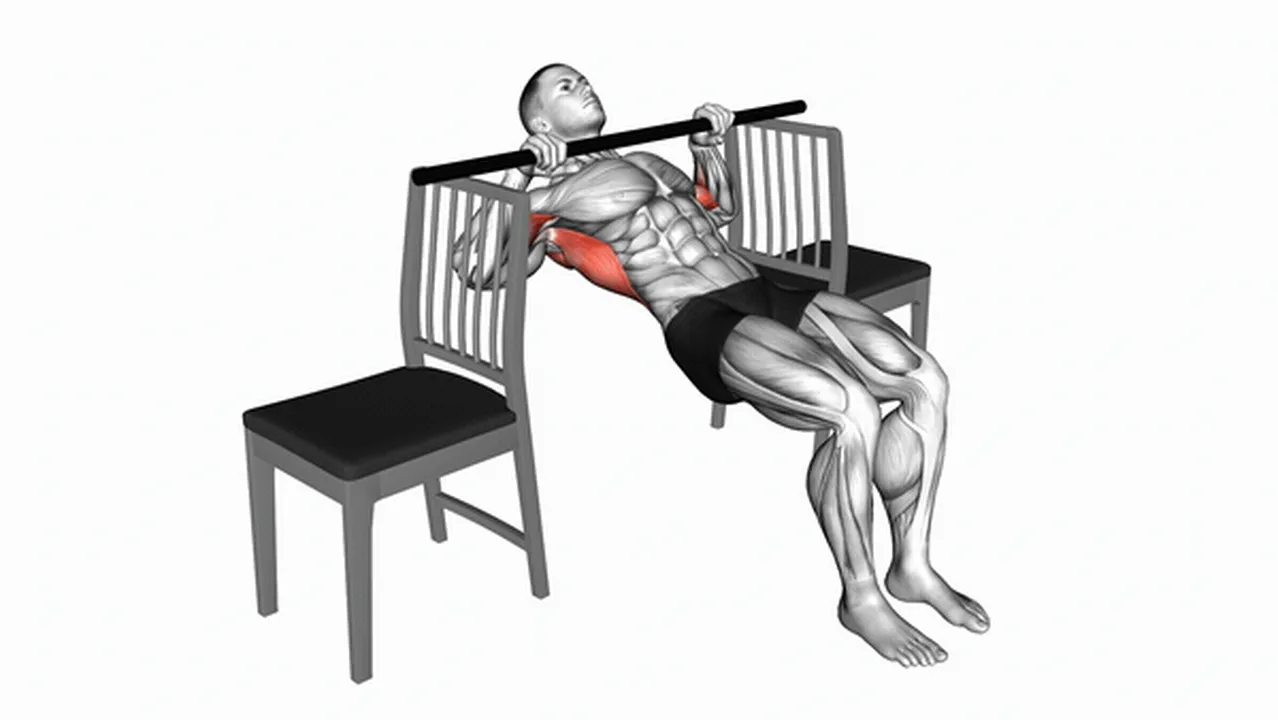
To do it: Place two chairs a comfortable distance apart. Lie on your back between them, holding onto the chairs with your hands slightly wider than shoulder-width apart. Keep your body straight, and pull yourself up until your chest touches the chairs. Slowly lower yourself back down. Remember to keep your knees bent.


Common mistakes to avoid: Don't let your hips sag down. Keep your body in a straight line from head to knees. Don't swing your body to help you pull up; use controlled movements.


Make it easier: Place the chairs closer together. This makes the exercise less challenging.


Make it harder: Place the chairs farther apart. This increases the difficulty and makes your muscles work harder.


Remember to listen to your body. If you feel any pain, stop and rest.


What are the benefits of inverted rows with bent knees between chairs? Image

What are the benefits of inverted rows with bent knees between chairs?


Better Core Strength: Your core muscles (your stomach and back muscles) work hard during inverted rows, making them stronger. A strong core helps you balance better and prevents injuries.


Improved Posture: Strong back muscles help you stand and sit up straighter. This exercise can help fix bad posture from sitting too much.


Fewer Injuries: Stronger back and arm muscles mean you're less likely to hurt yourself doing everyday activities. This exercise helps prevent muscle pulls and strains.


How to do inverted rows with bent knees between chairs? Image

How to do inverted rows with bent knees between chairs?


Starting Position: Sit between the chairs. Grab the bar with your hands a little wider than your shoulders. Your palms should face away from you.


Legs Up: Bend your knees and lift your feet off the ground. Keep your feet together.


Strong Core: Tighten your stomach muscles. Keep your body in a straight line from your head to your knees. Don't let your hips sag.


Pull Yourself Up: Breathe in as you pull your chest towards the bar. Push your elbows back, but keep your shoulders relaxed and down.


Slowly Down: Breathe out as you slowly lower yourself back to the starting position. Control your movement the whole time.


Important Tip: Go slowly and steadily. This makes the exercise work better for your muscles.


Common variations of inverted rows with bent knees Image

Common variations of inverted rows with bent knees


1. Pull-ups (with bent knees and chair support): This is like an inverted row, but you pull yourself up instead of pulling yourself along. The chairs help you keep your balance. This works your upper back, biceps, and shoulders.


2. Lying floor rows (bent knees): This exercise is done lying on the floor. You pull a weight (like a dumbbell or a water bottle) towards your chest. It's simple and great for building back strength. You don't need any special equipment.


3. Kneeling cobra push-ups: This exercise is more focused on your chest and triceps (the back of your upper arm), but it also uses your core and upper body. It doesn't require any equipment, making it very easy to do anywhere.


These exercises all work similar muscles, but they are different enough to keep your workouts interesting and help you get stronger. Try them all and see which ones you like best!


Alternatives to inverted rows with bent knees Image

Alternatives to inverted rows with bent knees


Here are some ways to change it up and make it even better:


• Inverted Row (straight legs): Instead of bending your knees, keep your legs straight. This makes it harder and works your upper back and biceps more.


• Inverted Chin Curl (bent knees): Focuses more on your biceps. Keep your knees bent and pull your chest towards the chairs, like a mini chin-up.


• Pull-up (bent knees): This is the hardest version. It's like a regular pull-up, but with your knees bent between the chairs. It builds strength in your arms, back, and grip.


Remember to start with the easiest version and gradually move to harder ones as you get stronger.


These variations help you target different muscles and improve your overall upper body strength.


Common mistakes during inverted rows with bent knees Image

Common mistakes during inverted rows with bent knees


Control your movement: Don't swing or bounce. Move slowly and smoothly. This ensures your back muscles are doing the work, not your momentum.


Keep your elbows close to your body: Don't let your elbows flare out to the sides. This helps you use your back muscles properly and prevents strain.


Maintain a straight line: From your head to your knees, try to stay straight. Avoid letting your hips sag or your back arch. This keeps your body aligned and prevents injury.


Takeaway Image

Takeaway


Improve stability: This exercise helps you balance better and improves your body's overall control.


Easy to learn and do: You only need two chairs, making it perfect for home workouts. The bent-knee variation is easier than a standard inverted row, making it accessible to beginners.


Focus on good form: Keep your body straight like a plank from head to heels. Your body should be in a straight line, not sagging or bending. This prevents injury and maximizes muscle use.


Avoid common mistakes: Don't let your hips sag down or your shoulders hunch up. Keep your core tight (your stomach muscles pulled in) to maintain a straight line and protect your back.


Adjust the difficulty: Move the chairs closer together to make the exercise harder. Moving them further apart makes it easier.


Gradually increase reps and sets: Start with a number of repetitions (reps) you can comfortably do, and gradually increase as you get stronger. Sets are groups of repetitions. For example, 3 sets of 10 reps means doing 10 reps, resting, then doing 10 reps again, resting, and finally doing 10 reps one last time.


Listen to your body: Stop if you feel pain. Rest when you need to. Don't push yourself too hard, especially when you're starting out.


Disclaimer: The routines and schedules featured on our website are for informational purposes only and do not constitute medical or professional advice. Individual preferences, goals, and daily routines may vary significantly. Please note that some product links within our content are affiliate links. While not all routines have been explicitly endorsed by the individuals mentioned, we strive to ensure the accuracy and timeliness of the information we provide.

Disclaimer: BalancedRoutine(BR) does not provide medical advice, diagnosis, or treatment. Any information published on this website or by this brand is not intended as a replacement for medical advice. Always consult a qualified health or mental health professional with any questions or concerns about your mental health.